The New Profile Wizard is used for creating new Profile definitions, as it guides you through entering the correct settings for a clean and reliable connection Profile.
Launching the New Profile Wizard
Method 1: From the General Settings Tab:

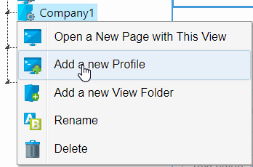
Method 2: By Right-Clicking on a View Node in the Web Terminal Emulator Profiles Tab:
Method 3: Automatically from the New Host Wizard (see last step in the New Host Wizard Topic).
Steps of the New Profile Wizard
The Wizard has Previous and Next buttons. Note that the Enter key will act as a "Next" so that you can use the Enter instead of Clicking Next.
Steps 1-3 Are Not Displayed When Run from New Host Wizard or Setup Wizard
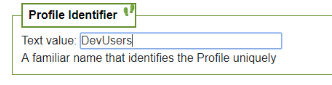
1.For a Profile not automatically created from the New Host Wizard, enter a Profile Identifier (when automatically loaded, the New Host Wizard Host Identifier is used):
2.For a Profile not automatically created from the New Host Wizard, there are Profile Create Options where you decide if this profile is new, linked to an existing profile or copied from an existing profile. See the Profile Creation Options topic for details.

3.For a Profile not automatically created from the New Host Wizard, after Profile Creation Options, one of two Selections will be presented:
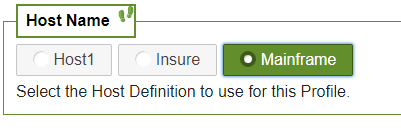
Create a new Profile - Select from active Host Definitions
Link to an Existing Profile / Copy an Existing Profile - Select from Active Profiles

4.Enter the Profile's Title users will see on the View Tile / Icon for this Profile:

5.For a Profile not automatically created from the New Host Wizard or the Setup Wizard, the following Settings are presented--see their description in the New Host Wizard for more context: Host Address, Telnet Port, Telnet Level, Use TLS/SSL, DeviceID / LUName / Answerback and Terminal Type.
6.The Terminal now starts and displays in the Terminal Emulation Panel (see Wizard Layout and Controls topic)--each step from here will dynamically change the presentation based on selected settings.
7.Select the StyleSheet for the profile -- as you click on different options, the Terminal Emulator will change to reflect the selected option:

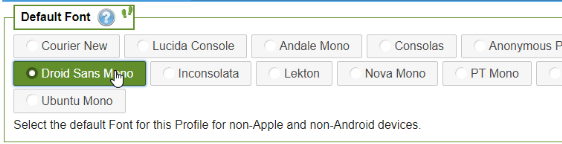
8.Select the default Font for standard devices (not Apple and not Android phones/tablets):
9.As with step 8, select the default font first for Apple and then Android devices.
10. Choose if fonts are to be stretched to the browser edges:

11. The Wizard has been Completed -- Click on Finish to save the new Profile: