
In this topic, you will create the Client ID Credentials used for authenticating users at the FVTerm server(s) using the Google Cloud.
Note that we have been careful to identify every action, which creates many steps, but it is important to complete all of them to avoid problems testing your new access method with FVTerm.
This task is performed at https://console.developers.google.com
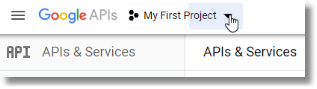
1.If your Project created in the last section is not active, at the Dashboard, Click on the Down Arrow next to the active Projects:
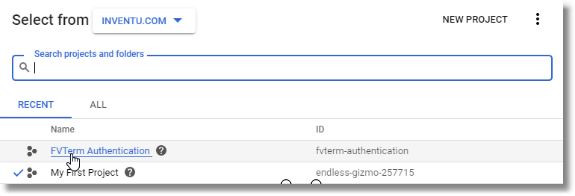
2.Next click on your project to edit its settings:
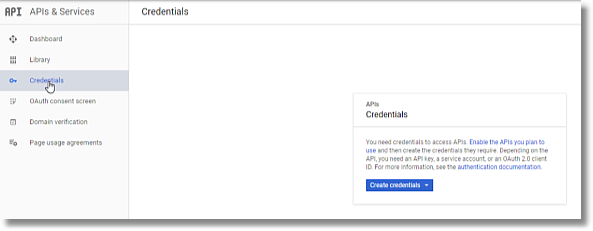
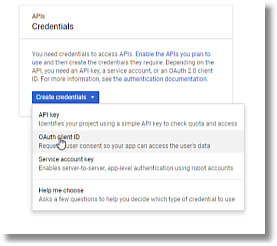
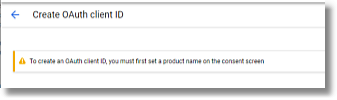
3.While in the API's Section, Click on Credentials and Create Credentials to Create an Oauth Client ID
4.Next step is to complete the Consent Screen for the OAuth account:
5.On the consent screen you have a number of options to consider. To limit sign-ins to your managed users, be sure to check "Internal Application" instead of public. Enter the name of the application as you would like the user will see it the first time signing-in:
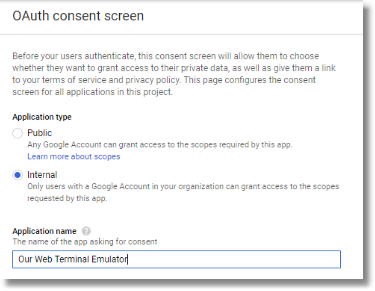
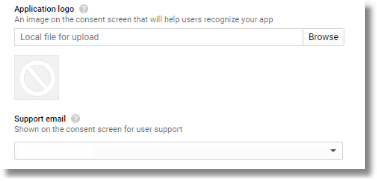
There are other options on the consent screen that can enhance your user's experience, including specifying a logo to show during consent but that is all optional--you also can include a support email to include:
6.Authorized Domains and URL's can be confusing--for the authorized domains, enter your primary high-level domain.
You can optionally add other domains if you have verified them with Google and would be hosting and FVTerm server in those domains. The other entries on this page are oriented to Public users--so you put in your organizations Home Page and Privacy link if you chose to allow Public (unmanaged) Google Users access your FVTerm server(s).
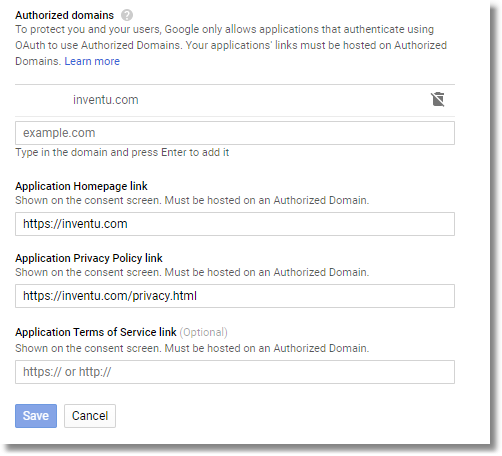
The Privacy link is required, as is a homepage--you can change the Consent information at any time.
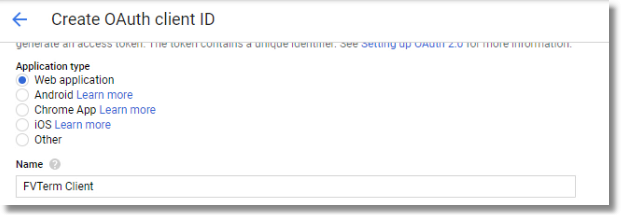
7.After saving the consent information you will need to complete more details on the OAuth Client, starting with the type and the name:
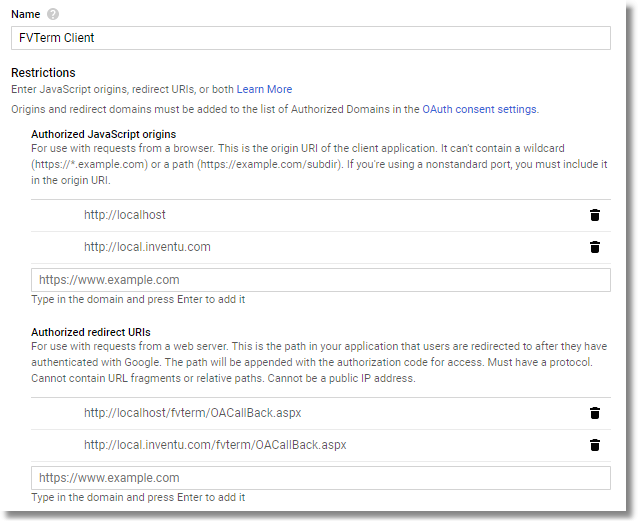
8.The next step is setting URL's that are used both to restrict initial access as well as define redirect pages for completion of the user authentication steps.
Below you see examples of multiple URI's in our test environment used to create this documentation...note how for each Origin URL (which does not include a path), there is a redirect URI that has a complete path to the page scterm.html in the FVTerm folder, since that is the default page, users can access it without the scterm.html.
If you have made FVTerm the default IIS folder, you should omit it in your redirect URI's...
If your current FVTerm server does not have a DNS entry, see the section Optional: Creating a local DNS entry to Enable Testing to add a local entry in the Windows Hosts file. After entering the appropriate URL's for your environment, click Save to continue to the next step.
Enter your URI's and click on Create (you can delete and add additional URI's at any time in the future):

9.This completes the creation of the OAuth Client -- click on OK to finish the definition:
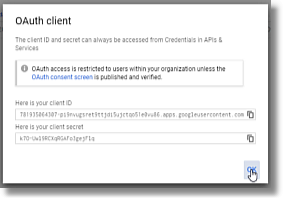
10. But wait! There's more--you need to download the JSON file used in the FVTerm server runtime.
Click on the Download Icon:
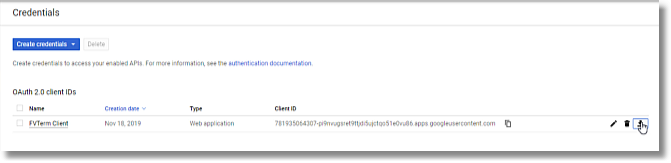
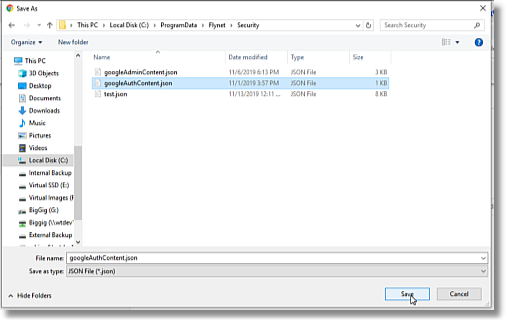
11. The default name for the JSON file as stored on the FVTerm server is googleAuthContent.json--and the default location is at c:\ProgramData\[Inventu|Flynet]\Security but if you are downloading on a PC or server that isn't the FVTerm server, save in a folder of your choice.
12. This completes the definition of the OAuth Client used for authenticating users on your FVTerm server(s).
Next Step: Service Account Key for FVTerm Integration
