
This section will show how to use the screen mapper application to create a new definition file. It will use the recording for the Insure application from the previous help topic Create a Workflow Recording. This recording is required, so if you have not completed it then return to creating the workflow recording.
Open the screen mapper application and click on "File/New Definition File". Give the application the name "ScreenRecog". Be warned that turning the debug tracing on for screen maps will slow the service and result in the creation of very large log files. Use this option with care.
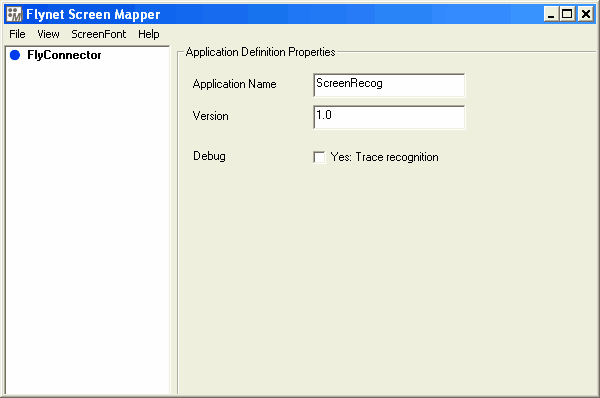
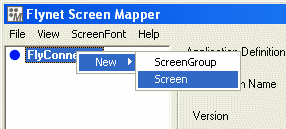
Right-click on the FlyConnector element and click on screen in the submenu.
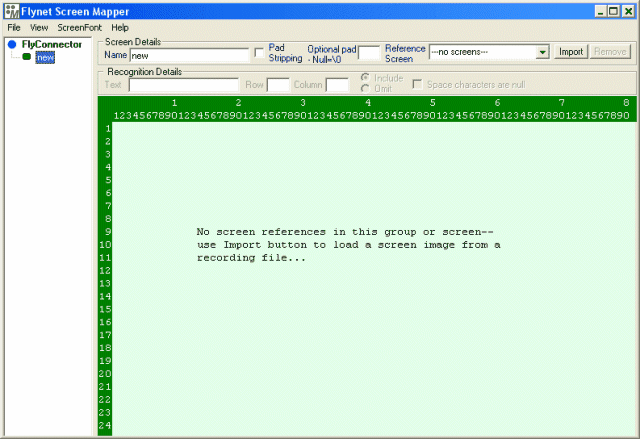
The mapper should now look like the image below. While all screen identification can be performed using this blank screen it is rather difficult. The next task will be to import the screen from the recording. Click the "Import" button.
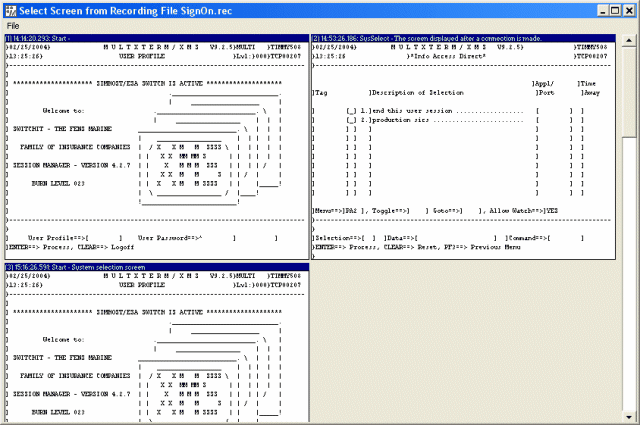
A file selection window will appear. It should already be in the folder where the recordings are stored. If it is not then navigate to the recordings folder which should be in the "Recordings" folder where the package was installed. Select the file "SignOn.rec" created in the previous section. If you did not create the "SignOn.rec" recording file then use the recording installed with the Flynet Viewer package, "Insure.rec".
The screen selection window (below) should now appear. It is used to choose which screen to use in the map. If you selected the wrong recording you can change the screens listed by clicking on "File/Open Another File". Click on the first screen.
Now that the screen is in the mapper's display it is much easier to set the screen recognition information.
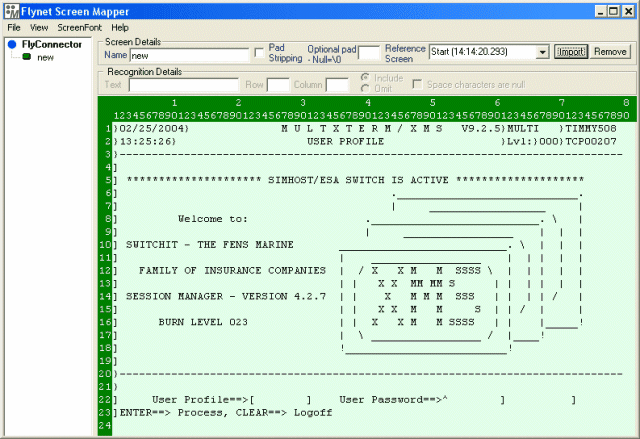
Save the definition by clicking the "File/Save Definition File" menu option. Call the definition "SignOn".
Move on to the next section to find out how to set the recognition criteria.
