
If the Configuration of the Web Part project was done correctly, you are ready to deploy to your SharePoint server. This is always easiest done when it is the same machine as you are developing on, as this minimizes security, firewall and other issues.
Note that as an alternative to this step you can also use the Package option to create a WSP file, as with typical packaging of SharePoint solutions. Packaging is covered in the next section.
Deploying, when all is setup correctly between Visual Studio 2010/2012 and SharePoint 2010, is simple:
1.Right-click on the Web Part project node and select Deploy:

2.If all goes well, the output panel should end-up looking something like this:
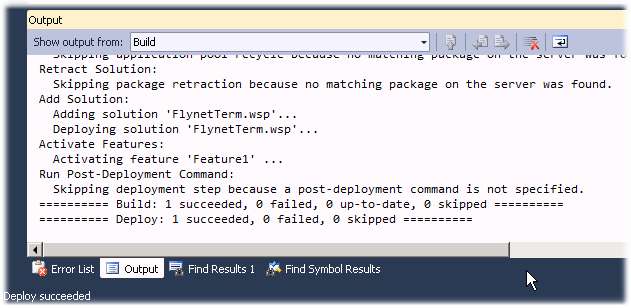
Almost there! If Deploy has worked, you can skip to the SharePoint Activities to configure SharePoint for Flynet Compatibility (once per server). Otherwise, you may want to use the Packaging approach described in the next section.
