As with the ASP.NET Application, a few checks and possible edits can help ensure your Web Part will work correctly, here is a walk-through of typical activities for first build:
1.Open the Web Part solution in Visual Studio. Remember that with Flynet frameworks, Visual Studio needs to run in Administrator mode, so you may want to open VS directly from a shortcut then open the Web part solution file using the VS file-open.
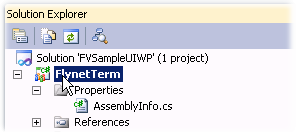
2.The Visual Studio 2010/2012 layout includes all of the supporting files to properly deploy all necessary supporting files and configuration for the Flynet web part, which is an advanced web part that even includes its own custom editor environment (for scripts).
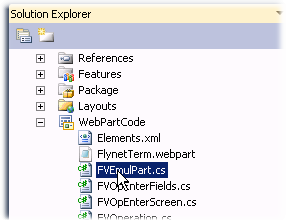
In the WebPartCode folder are the c# modules that make-up the Web Part itself, including the user-settable properties. In this step, we will review some of the properties as generated and make sure that they are what we want--while the user can change these, it is nice if the defaults are correct to begin with.
Edit the FVEmulPart.cs module, which is the main Web Part class module:
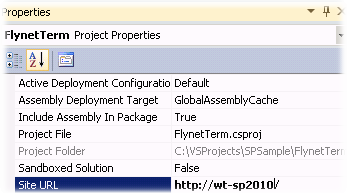
3.Find the properties region and review the defaults. If, like the author of this help, you specified the WRONG server name, you get to fix it again! Actually, the mistake was made as a "teachable moment"...


There are other defaults for properties, for now, the two server settings are the most likely to need a tweak or two. Note that you can tweak and extend the web part and add your own properties and actions once you get a feel for how it works.
4.Click on the Project Node for the Web Part and not the Properties Grid--once again, if the server isn't quite right, or you are deploying to a different server, here is another opportunity to update the target server: