This step is only necessary if, for some reason, you are unable to use the Web-Based population of the thumbprints...
In a new tab in the same browser that you are signed-into Azure with, paste the URL for the manifest document from the first step and press enter to open the XML document:

There are multiple <X509Certificate> elements in the document--for the best resilience to Azure AD encryption certificate "rollovers" you should obtain thumbprints for at least two, and ideally four certificates.
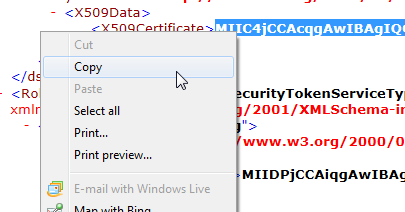
You will want the <X509Certificate> element's text from inside the <ds:Signature> top element...we have found that the easiest way to grab the whole certificate text to the clipboard is to start your mouse highlight at the first character of the certificate and drag down one line--

Then right-click and copy to the clipboard:

Now, to obtain the finger/thumb print of the certificate, go to: https://www.samltool.com/fingerprint.php which provides a convenient, web-based calculation of a certificate fingerprint:
Paste the certificate text copied in the last step to the "X.509 Cert" field:

The next step is important--delete any extra XML elements that came in during the copy-to-clipboard from the End-points Azure AD page...we just clicked-in and used backspace until the text was cleaned:

Now click on the CALCULATE FINGERPRINT button:

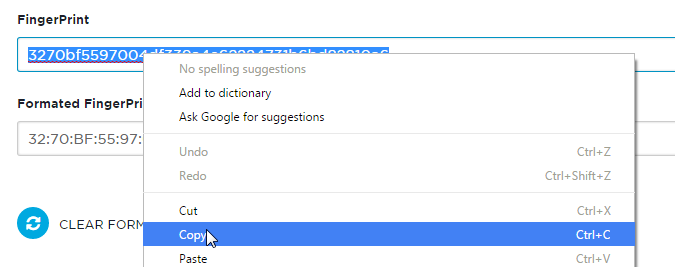
This will calculate and display the Fingerprint--copy to the clipboard--then paste to the same scratch text document you saved the APP ID URI in an earlier step:

You now should repeat this step three more times, grabbing the X509Certificate values that are unique from the first 509 certificate in the next section of the XML document (RoleDescriptor / KeyDescriptor use="signing") and then obtaining the thumbprint/fingerprint values from the SAML site. Once you have all four thumbprints, you can manually paste them into the configuration entries and Apply.
