
It is very simple to make FVTerm the default web folder for your IIS Website. Important considerations prior to doing this include:
1.Be sure that any Identity Configuration has not been setup yet so that any URL's set will reflect a URL without the FVTerm folder
2.You need to run the IISConfig utility after changing the default web folder so that tools will open web pages correctly
Making FVTerm the Default Folder
1.Open the IIS Administration Console
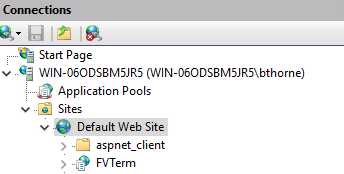
2.Select the Default Web Site or Site that FVTerm is installed to:
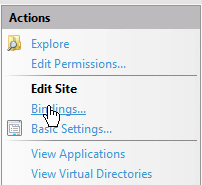
3.Click on Bindings in the Actions Column far right:
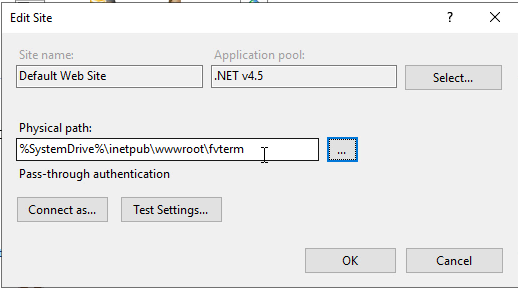
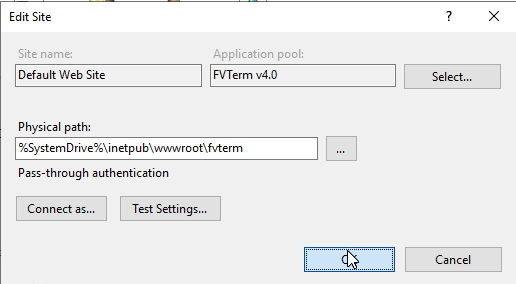
4.Add /FVTerm to the Physical Path for the site:
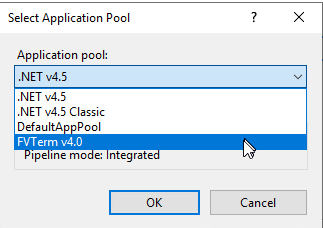
5.Click on the Select Button and Change the Application Pool for the site to FVTerm v4.0:
6.Click OK to save the Changes:
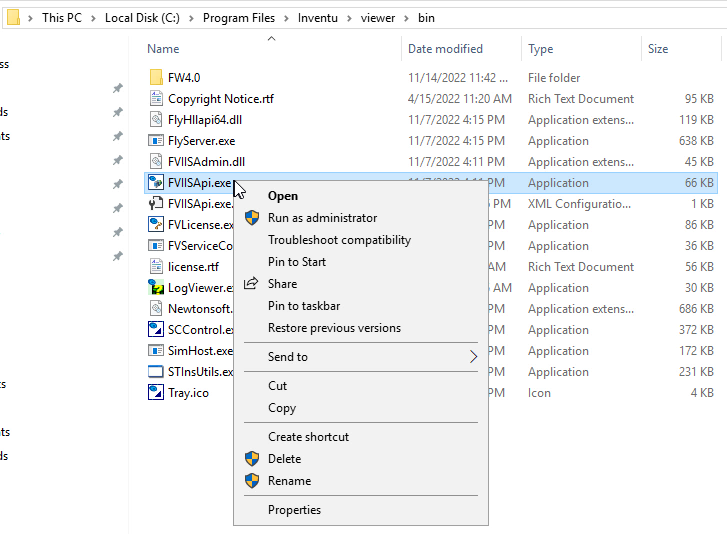
7.Now use File Explorer and navigate to the folder c:\program files\inventu\viewer\bin (might be c:\program files\flynet\viewer\bin on server with initial install prior to 2020). Open the File FVIISApi.Exe:
8.Click on "Update FVTerm URL Links" -- this will update all internal links to the Configuration Web Page and the Terminal Emulation Page...if this button is not available, you need to upgrade your version of Inventu Viewer+!
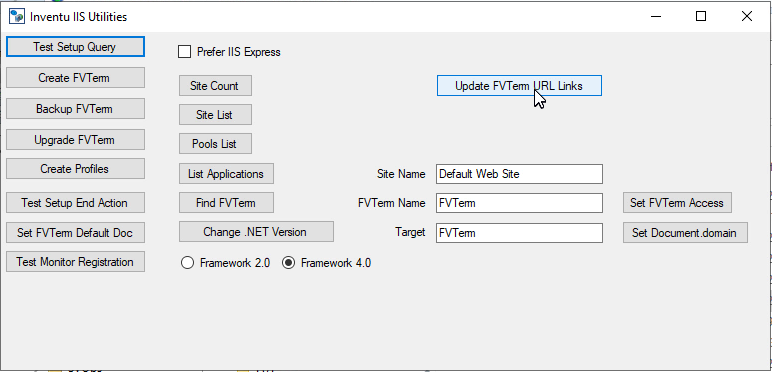
9.That's it, you can close the Inventu IIS Utilities -- FVTerm is now the default and to open the Web Terminal Emulator page you only need the URL of the server...
