
The Flynet Web Part deployment from Visual Studio includes Receiver events that configure specific settings for the web part in the SharePoint web.config file. However, there are a few changes not included in the receiver event, as these have a global effect on the target SharePoint site and are thus best performed manually.
Activate Session State Management
The Flynet ASP.NET application, which runs in the SharePoint Application pool, has session state configured. For this to work, a few changes in the SharePoint web.config are needed, as well as a configuration check in the IIS Administration Console.
1)Ensure that IIS has the System.Web.SessionState.SessionStateModule enabled for your site:
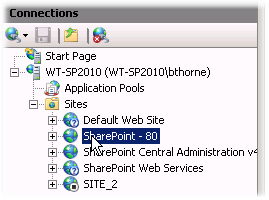
a)Open IIS and click on your site:
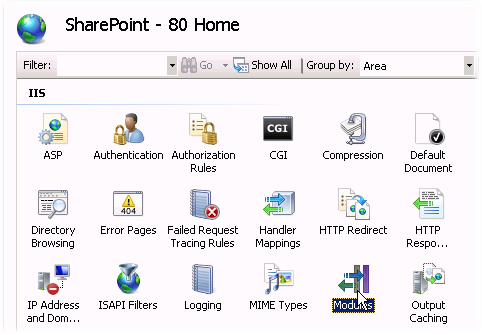
b)Scroll in the main panel to find the Modules icon and double-click to open:
c)Look for the System.Web.SessionState.SessionStateModule in the list...if you don't see it continue with step d), otherwise you can close the Modules configuration and continue to step 2.
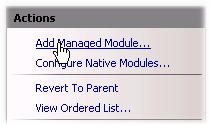
d)Click Add Managed Module in upper right:
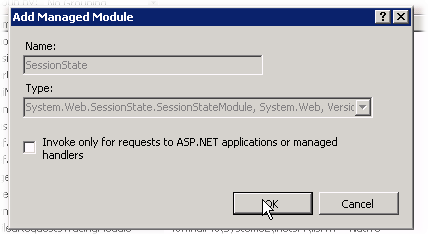
e)Name the module "SessionState" and select the System.Web.SessionState.SessionStateModule then add:
f)If an error message states that the module already exists, it is OK, as your site already has the SessionState module configured...
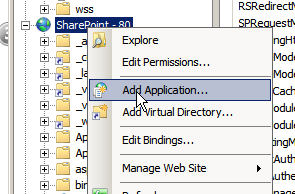
2.The Flynet Terminal Emulation Setup will install the "FVTerm" application to the Default Web Site, which is not where it is needed to work with SharePoint. Right-Click on the SharePoint site to add a new Application:
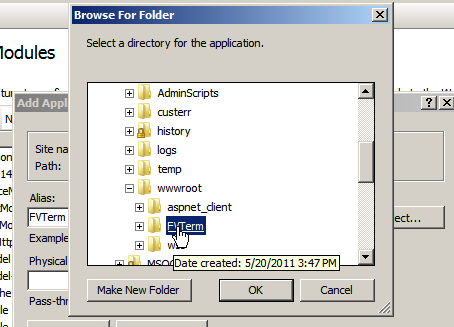
3.Name the new Application FVTerm and select the existing folder as the physical folder for FVTerm:
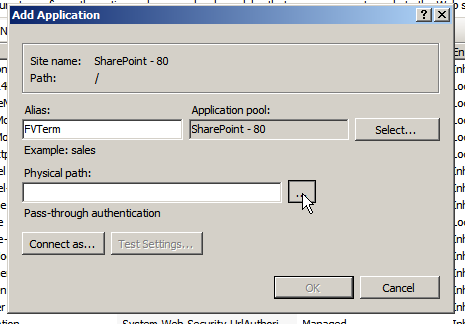
Complete the add with OK on the Add Application dialog so that FVTerm and run as part of the SharePoint Web Part environment
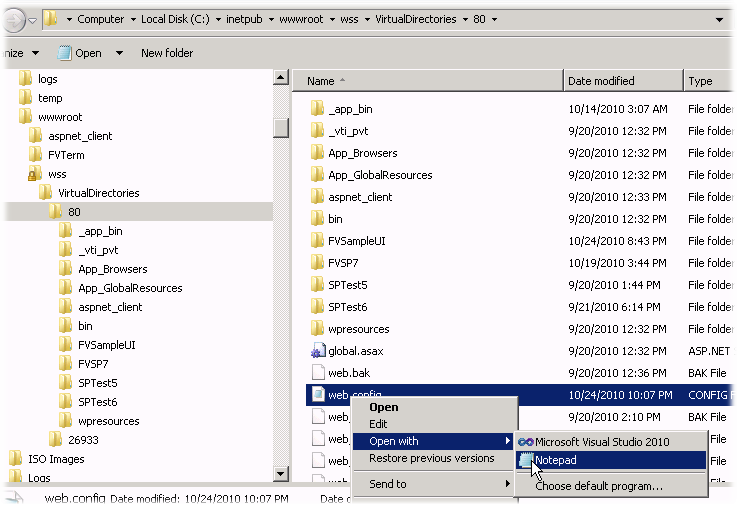
4.Next, Ensure SessionState is activated in the web.config for the target site. Locate web.config and open in an editor:
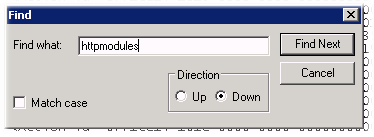
5.Search on "httpModules":
6.Add the SessionStateModule to the active list, if not there:
From: <httpModules />
To: <httpModules>
<add name="Session"
type="System.Web.SessionState.SessionStateModule" />
</httpModules>
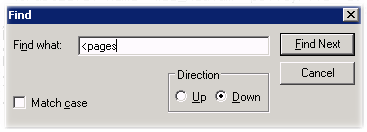
7.Search on <pages:
8.Ensure enableSessionState=true....
From: <pages enableSessionState="false" ...
To: <pages enableSessionState="true" ...
9.Save the SharePoint web.config file; the Flynet Compatibility should now be setup.
