Summary
A WorkflowPage is part of the Workflow wizard construct in the Tasks treeview. You build-up a workflow by adding WorkflowPage entities to a Workflow container. There are four standard types of Workflow pages, which are set for each page using the WorkflowRole property:
•Start Page - Introduces the Wizard, you set Informational text
•Standard Page - Acts as a container for one or more filtered screens
•Informational Page - A simple informational text page you can insert anywhere in the workflow
•Completion Page - The end page, giving the user the opportunity to run the same workflow again
•Design Guide Reference: Workflow Web Pages (includes controlling properties)
•UIWorkflowPage Property References: Core Properties / UIExtension Properties
Valid Parent Entity Nodes
Name |
Modeling Guide |
Design Guide |
Valid Child Entity Nodes
Name |
Modeling Guide |
Design Guide |
Example: Adding a Workflow to a Menu Item with WorkflowPages
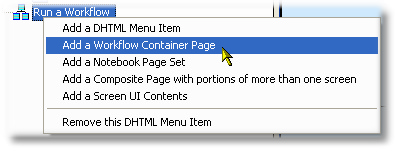
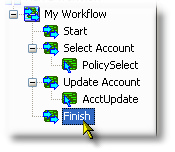
First, we add a new Workflow Container Page (UIWorkflow) entity to an existing Menu Item which has no children, and rename to My Workflow: |
|
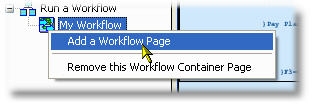
Each Workflow page that is part of the workflow is added to the container: |
|
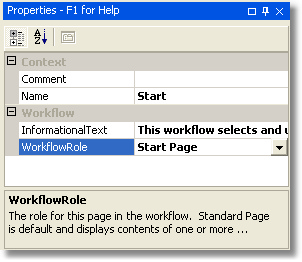
As you add Workflow pages, you need to set the WorkflowRole property, and if the role is Standard page, add one or more UIScreen elements to it.
Typically, the first page Starts the Workflow and informs the user of the goals, here we have set the Properties of our first Workflow page: |
|
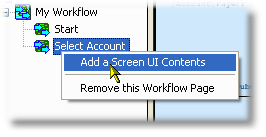
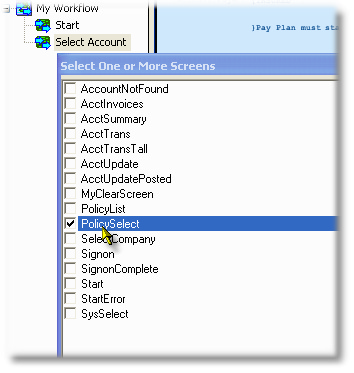
Next we will add another Workflow page, name it "Select Account" and add a UIScreen element: |
|
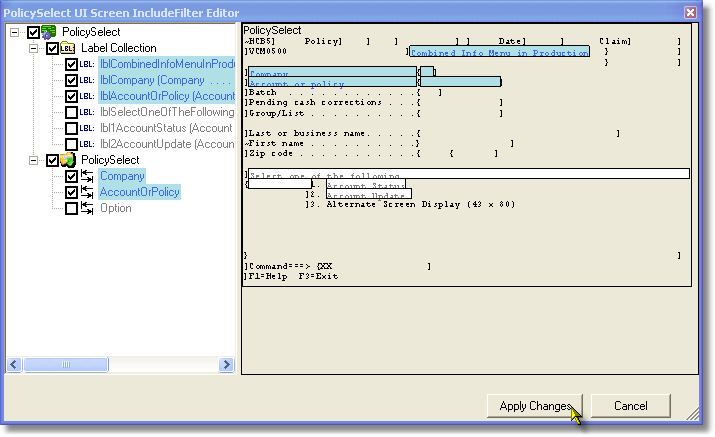
The added screen can then be filtered. For example, since the Workflow generation wizard takes-care of navigation in-between screens, we can remove all fields related to navigation. Also note that defined actions (function keys) are not generated for a workflow UIScreen...
|
|
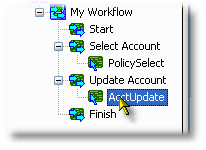
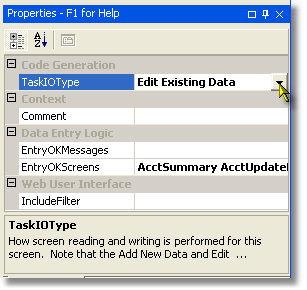
Next in our Workflow, we will add an update page, with a screen, which, like Web Services has an IO Type: |
|
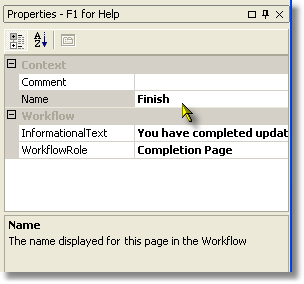
Completing is a page with the Completion Page workflow role: |
|
This completes the Flynet Studio portion of modeling your Workflow for generation--after the generation, the next step is to edit your new web pages in Visual Studio's Design View to add additional help to Start, Informational and Completion pages, as well as adjusting and fine-tuning field locations in the individual pages.
