
For users to be properly identified to the WebFlow Macros environment, the Set Logon Detection tab is used in the Administration Interface. This includes a number of settings designed to:
•Identify when the user is keying his or her Host User ID
•Identify the location of the UserID Entry Field
•Identify up to three "OK" screens, indicating that the UserID, Password and any additional credentials were properly entered
•Identify up to three "ERROR" screens, indicating that the UserID, Password and other credentials were incorrect (and the user should not be identified
Each entry field on the Set Logon Detection form has a special "Capture" icon that you can click to simplify entry of each field. The following set of steps demonstrates how the Logon Detection is setup for the Sample Simulated Host "Insure" script:
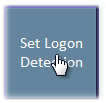
2.Click on the Set Logon Detection selector tile to activate the form:
3.The first step is identifying when the Signon Screen is active--this is performed using the syntax:
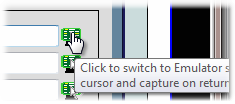
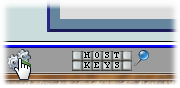
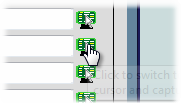
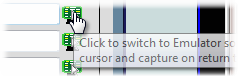
@[row],[column]='text' replacing row, column and text with the location of unique text on a screen. You can have the admin form do this for you by using the "Capture" icon next to each field. Each time you click on an icon, the management interface will hide and the emulator is activated. The next time you click on the macro icon, the active screen and cursor location will be used to create the Identification or Read expression:
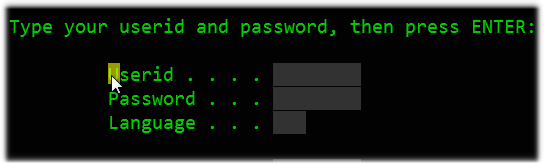
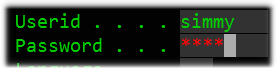
4.Now navigate to the Signon Screen, and before clicking on the Macros icon, position the cursor on text to I.D. the screen:
 [enter]
 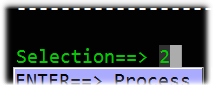 [enter]
5.Once the cursor is on text to I.D. the screen, click again on the macro icon:
6.Note that the identification expression has been created for you:

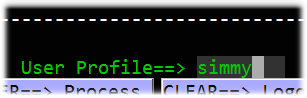
7.Next step is simple--click again on the Get Icon for the Signon UserID Location field, and position the cursor in the entry field for the User ID:

8.Again, click on the Macros Icon to switch back and capture the UserID entry field location:

9.You now need to repeat the same steps as in steps 2, 3 and 4 for at least one "OK" result and at least one "ERROR" result. In each case, you can click the "Capture" Icon (next to the field you are filling) to switch to the emulator, navigate screen-to-screen performing a good logon (remember to position cursor capture), then at least one error logon (captured). Here are summary images of doing the "Good" logon first:
 [enter]
Position Cursor--
Click on Macros icon
Identification Expression filled-in: 
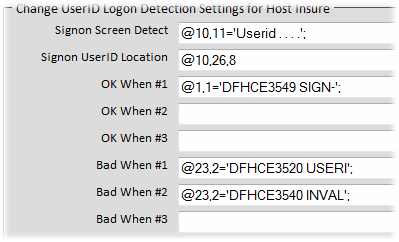
10.Here is what the example looks like with one "OK" screen identified and two "ERROR" screens:
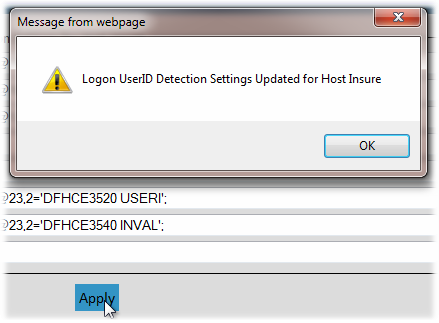
11. Click on the "Apply" button -- if any expressions are in error, an alert will be displayed with the fields with errors identified. Otherwise, you should see:
At this time, whenever a user logs-on successfully, that user's ID will be used for Macro Authoring, Lists and execution.
