
When Installing on Windows XP and Windows Server 2003 we first must update our Windows Installer. To do so, attempt to run the FVSetup. This should result in the following pop-up window:
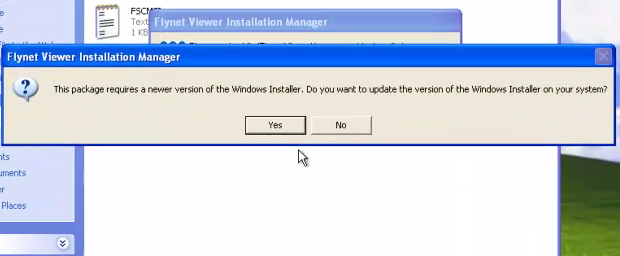
Click Yes and follow the wizard to update your windows installer.
Next we must download and install the .NET Framework 3.5. You can download the .NET Framework 3.5 here.
Once this has been downloaded and installed we will discover that we also need .NET Framework 4.0. You can download the .NET Framework 4.0 here.
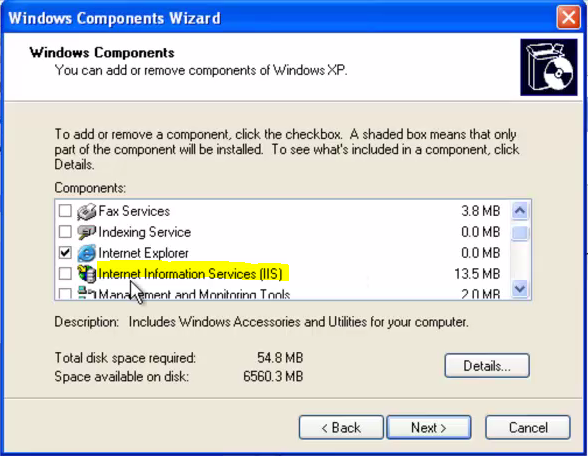
In Windows XP, after we have completed all the required updates and installations we need to navigate to the Windows Features. To reach the windows features we first go to the control panel. From here click Add or Remove Programs and then select Add/Remove Windows Components.
This will open a wizard. On the first screen scroll down and check Internet Information Services (IIS) then click Next to complete the wizard.
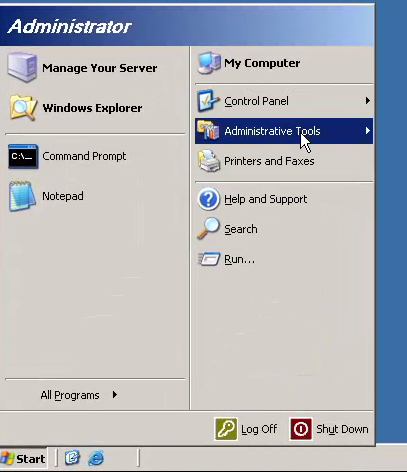
When installing on Windows Server 2003 we will use the Manage Your Server tool to change Windows Features. This tool can be accessed through the Start Menu. From the Start Menu we will select Administrative Tools and then Manage Your Server.
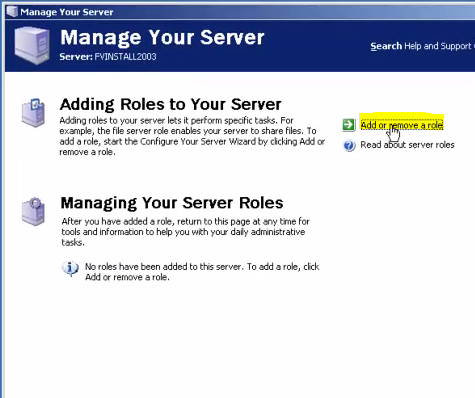
Once in the Manage Your Server window select Add or remove a role.
Navigate through the wizard that appears until you reach the Server Role page. Here you should select Application server (IIS, ASP .NET).
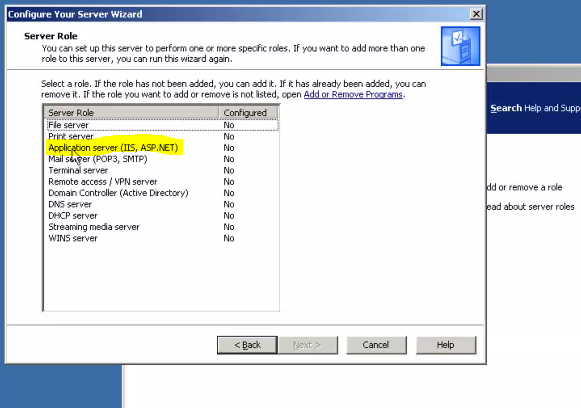
On the next page check Enable ASP .NET and then continue through the last few pages to view the summary and apply all the selections.
The last step in the Pre-Install process for Windows XP and Windows Server 2003 is to update the Microsoft Management Console to Microsoft Management Console 3.0. For Windows XP this can be downloaded here, and for Windows Server 2003 it can be downloaded here. Follow the installer and accept the defaults.

As a side note, during installation you will need to provide a 30 day evaluation code. You may choose to open up your email and copy the evaluation code now.
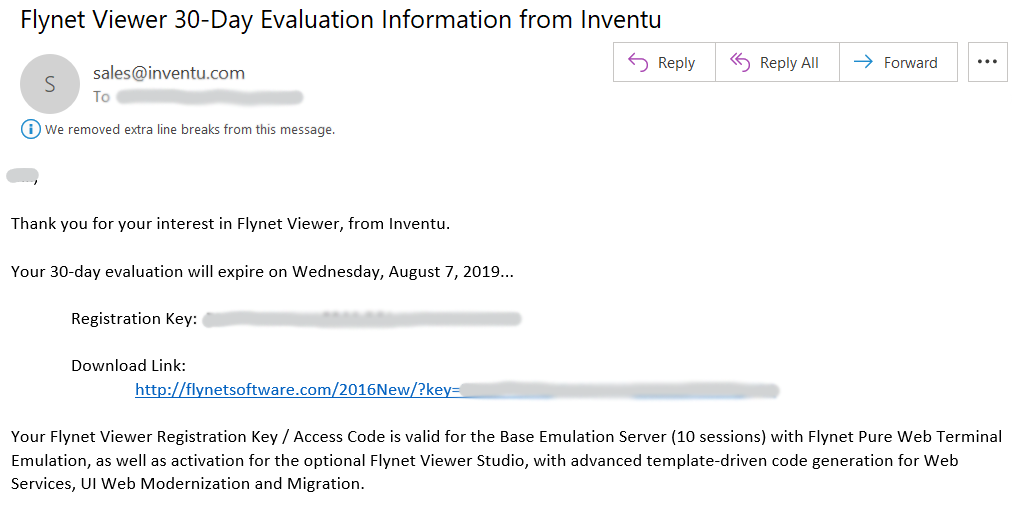
Once your system is configured correctly and you have accessed your evaluation code, you are ready to begin installation.
Next Step: Server Install
