
Starting in June of 2019, a new configuration mode, "Profiles Mode" has been made the default. The Profiles Configuration web page has a Wizard mode that has been connected with the Setup.
But first, to run the install, execute the IVSetup64.exe or FVSetup64.exe that was downloaded from your registration email link.
Each form interaction with the Setup has been documented in the following images:
The standard Administration Request--Click on Yes
The setup will now scan for needed components--if some are needed they will be listed:
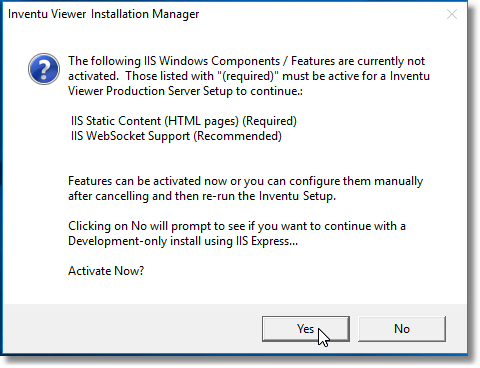
Click on Yes to Activate any Missing Features and Continue with the Setup
Activating Windows Components
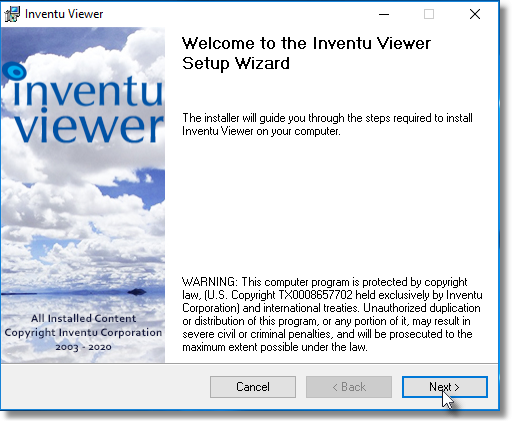
Click on Next to Continue with the Setup
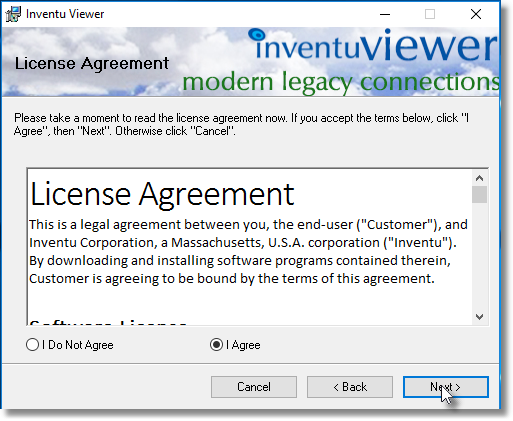
Standard Click-Through License Agreement
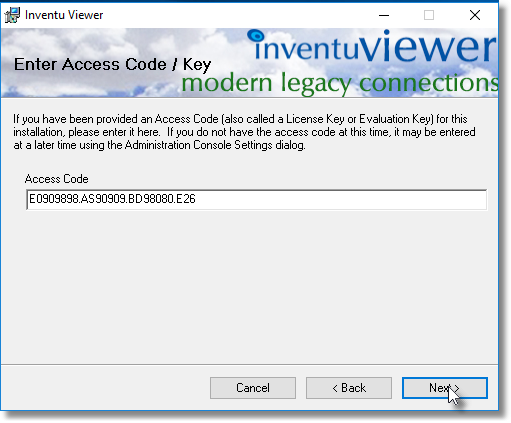
Now is the time to Paste your Access Code Key sent in the Registration Email
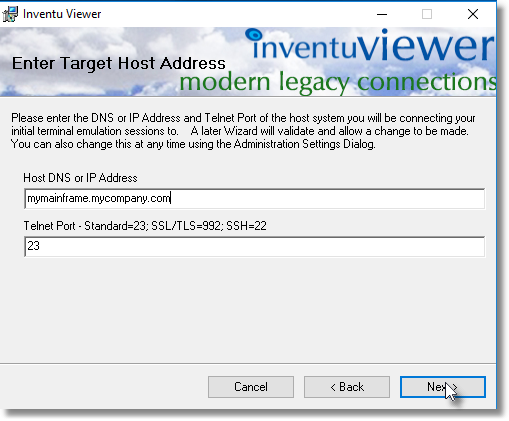
The Initial Target Host Address can be found in any active Terminal Emulator's Connection Settings --
Note that a Connection Wizard will immediately follow the Setup. Also, you will be able to
define more than one host connection following Setup.
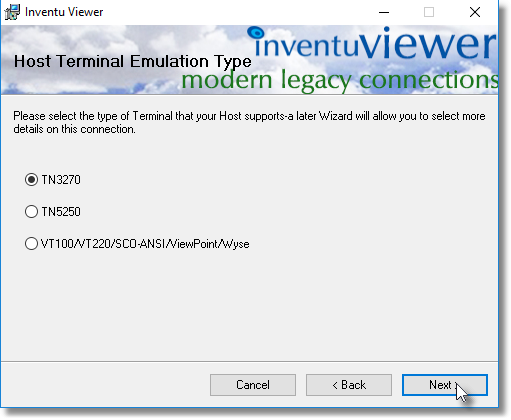
Select the Protocol for the Initial Host Connection.
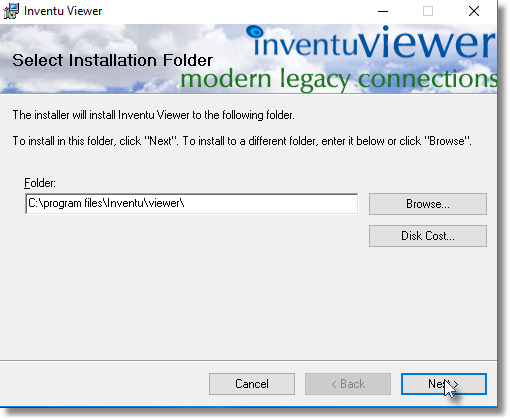
Provided is the default Installation Folder--Recommended Unless you have a Standard
that is different
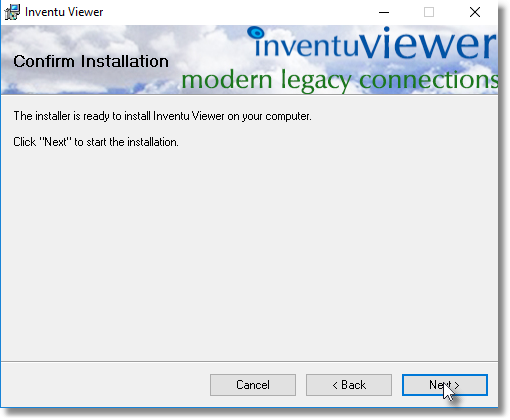
Finally Ready to Start the actual Installation
The following Four Steps are Needed for Servers with Limited or No Outbound HTTP Access
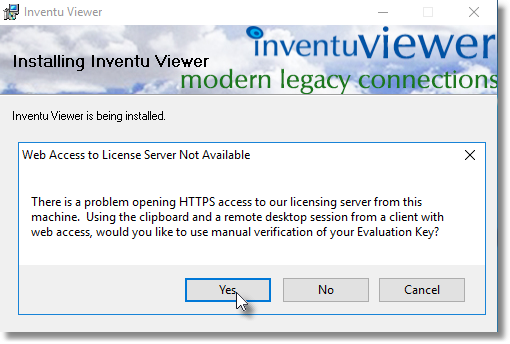
If you are Installing on a Locked-Down Server (quite common) that has restricted outbound HTTP
Connectivity, you will see this Message Box -- Click on Yes to Continue Using the Clipboard
and a Web Browser on your Remote Desktop Client
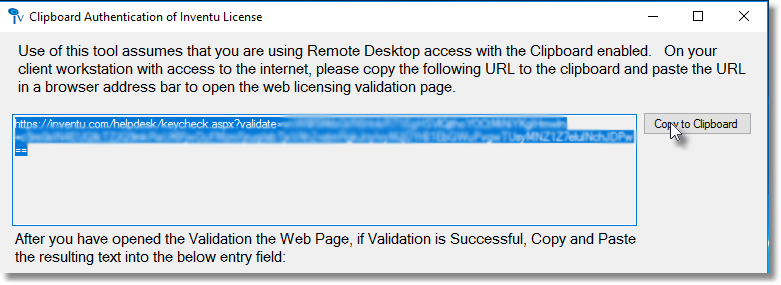
Here is a URL ready to Copy and Paste Into a Web Browser Address Line on your RDP Client -- Enter the URL
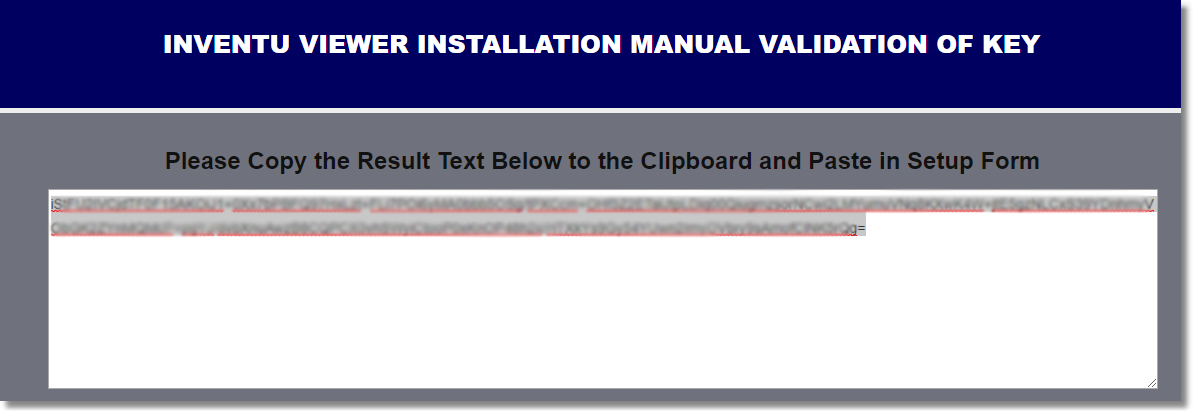
The web page will provide a Validation Text Highlighted and Ready to Copy to the Server Setup Dialog
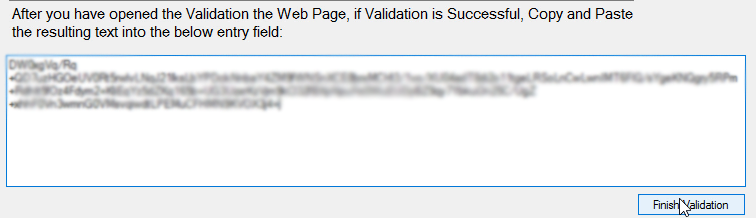
Here is the Pasted Text from the Client Web Browser--Click on the Finish Validation
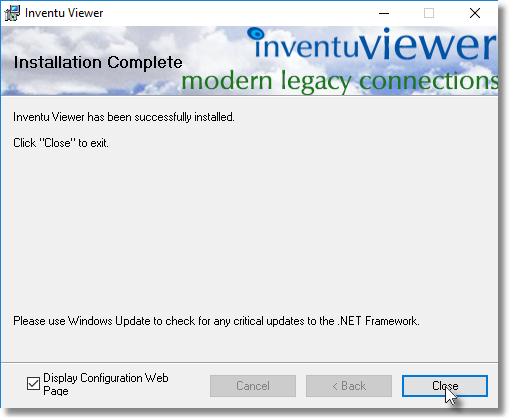
When first running the Setup, Be Sure to Keep the Checkbox Checked for Display Configuration
Web Page -- this runs the Connection Wizards for your New Setup
Next Section: Setup Wizards
